打造一个易用的iTerm2
iterm2 、Oh My Zsh、p10k、plugin 芜湖~🛫
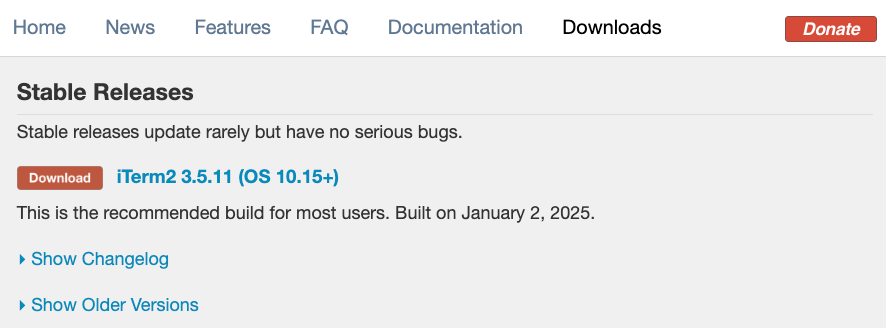
iTerm2安装
直接前往 iTerm2 官网 下载, 解压并双击安装
zsh安装
Oh My Zsh 是一款命令行工具,它基于 zsh 命令行,提供了丰富的主题、插件
# curl
sh -c "$(curl -fsSL https://raw.githubusercontent.com/ohmyzsh/ohmyzsh/master/tools/install.sh)"
# wget
sh -c "$(wget -O- https://raw.githubusercontent.com/ohmyzsh/ohmyzsh/master/tools/install.sh)"
p10k安装
powerlevel10k 是一款 zsh 主题,快速、高效和开箱即用
安装
git clone --depth=1 https://github.com/romkatv/powerlevel10k.git ~/powerlevel10k
echo 'source ~/powerlevel10k/powerlevel10k.zsh-theme' >>~/.zshrc
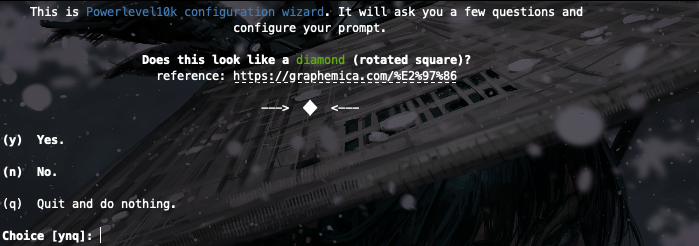
source ~/.zshrc配置
p10k configure根据提示,选择即可
插件安装
支持的所有插件:https://github.com/ohmyzsh/ohmyzsh/wiki/Plugins
推荐几个插件:
# zsh-syntax-highlighting git clone https://github.com/zsh-users/zsh-syntax-highlighting.git ~/. oh-my-zsh/plugins/zsh-syntax-highlighting 配置: plugins=(... zsh-syntax-highlighting)# zsh-autosuggestion git clone https://github.com/zsh-users/zsh-autosuggestions.git ~/.oh-my-zsh/plugins/zsh-autosuggestions 配置: plugins=(... zsh-autosuggestions)Z 目录跳转 : 通过
z命令,直接跳转到访问最多的目录,要启用Z, 修改ZSHRC文件,plugin数组中添加z即可
plugins=(... z)plugins=(... kubectl)plugins=(... asdf)plugins=(... tig)Shell Integration
当你SSH 到到远端服务器的时候,发现里面的 Host、User、Current Path 等信息不能和 Status bar同步,装它就对了。 当然,它功能不只如此,还可以文件上传下载、历史命令查看等.
安装
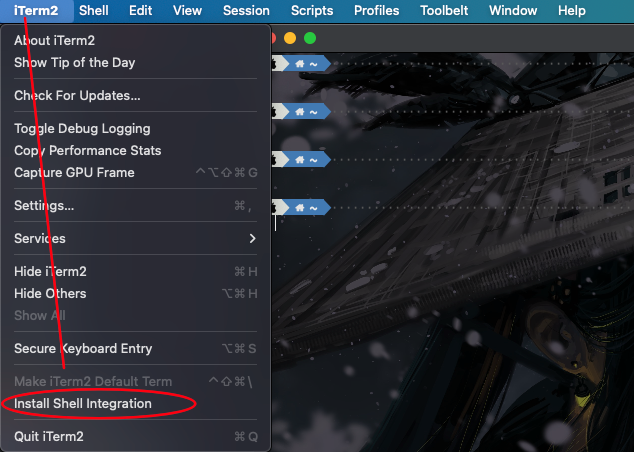
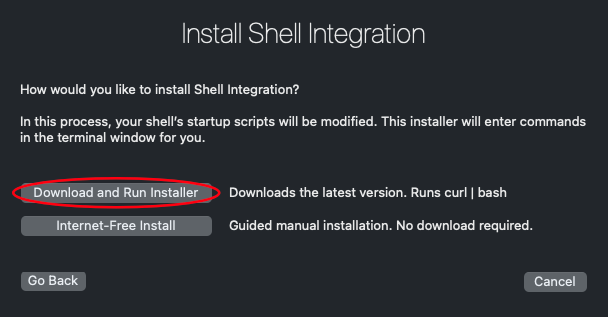
在安装完 iTerm2 的 shell integration 后会在终端界面中最左侧多出一个蓝色三角形的标记。如图:
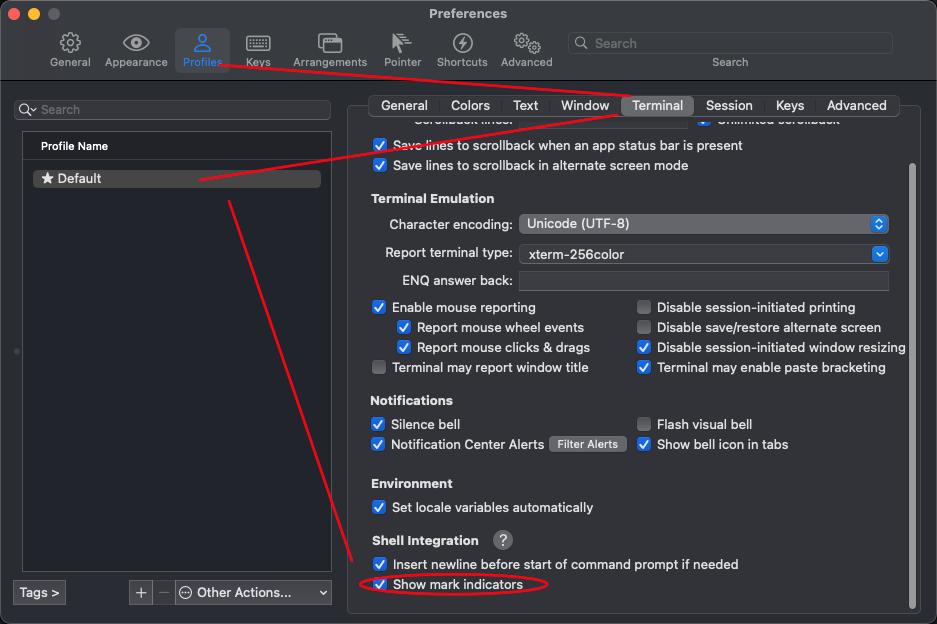
标记说明当前 shell 支持 shell integration。如需关闭标记,可以在 iTerm2 > Preferences > Profiles > (your profile) > Terminal 最下面 > Shell Integration 关闭 Show mark indicators
服务端:
curl -L https://iterm2.com/shell_integration/bash \
-o ~/.iterm2_shell_integration.bash
编辑 ~/.bash_profile 或者 ~/.profile增加下面一行
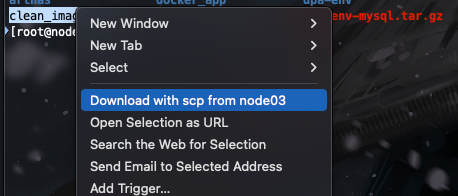
source ~/.iterm2_shell_integration.bash下载文件
注意 只有ls的才可以, ls -al 的可能会失败
上传文件
如果在 ~/.ssh/config 中配置了远端服务器的认证信息,然后SSH 到远端服务器后,cd 到期望上传的目录中,按住 Option 键,将文件拖入 iTerm 2 的窗口中,就会调用 scp 进行上传。
剪切板历史
ommand + Shift + h可以呼出粘贴历史,支持模糊检索。